























An apron is one of the most satisfying first sewing projects you can make. It's mostly straight lines, it doesn't need to fit perfectly, and you'll use it every day. With Christmas baking season on the way, a handmade apron also makes a lovely, practical gift for the cook, crafter or gardener in your life. Here's how to make a simple bib apron with a neck strap, waist ties and a handy pocket, plus our favourite fabrics for the job.
Choosing the Right Fabric for an Apron
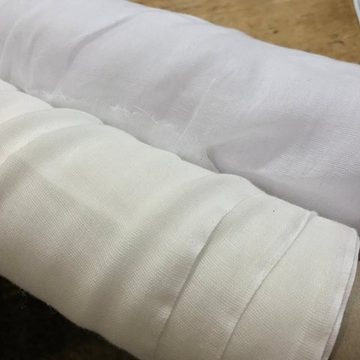
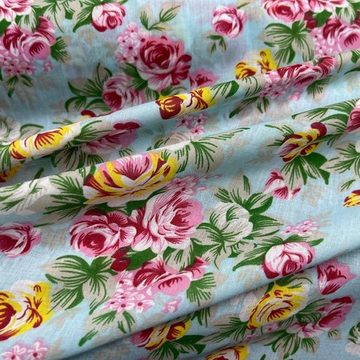
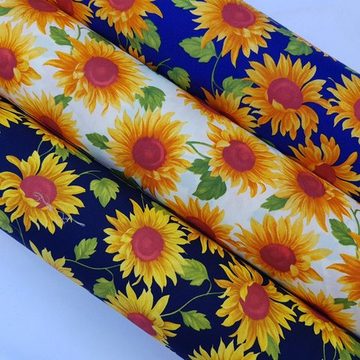
Look for a medium-weight woven fabric that's sturdy enough to protect your clothes but soft enough to tie comfortably. Cotton is ideal because it washes well, presses crisply and is easy to sew. Avoid very slippery or stretchy fabrics for your first apron, as they're harder to keep straight.
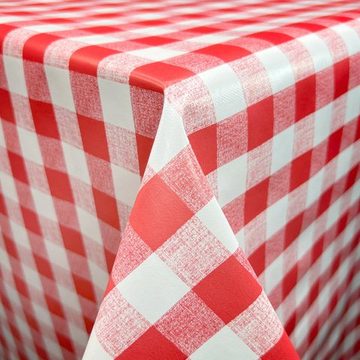
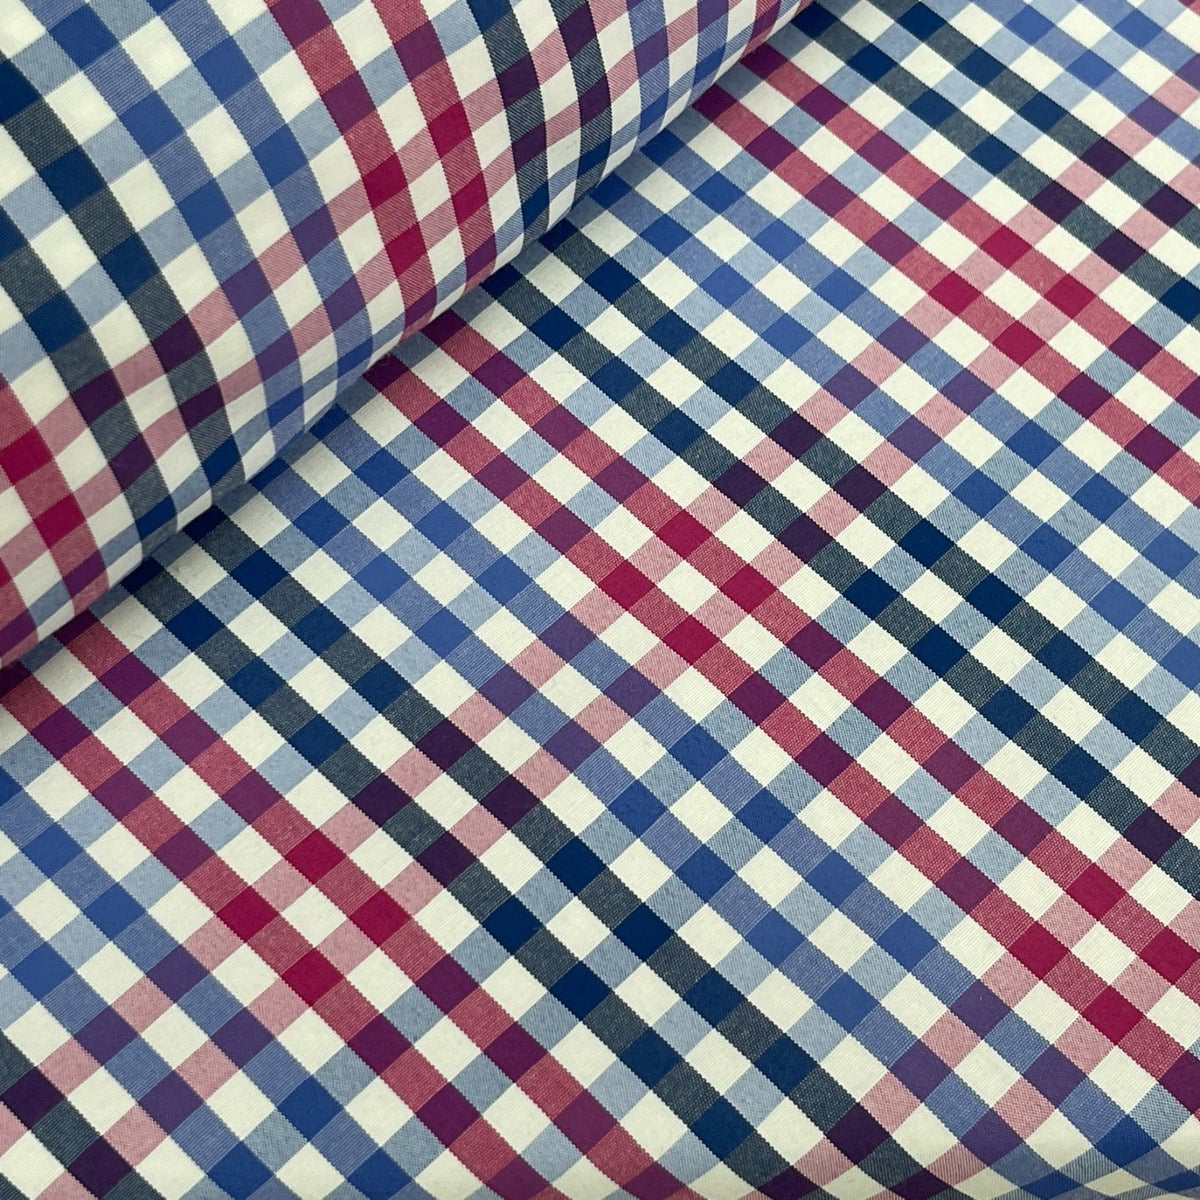
- Blue & Pink Gingham Check Cotton, 150cm: now £6.99 a metre (was £15.00). A cheerful 100% cotton check that's perfect for a classic baking apron, and the checks make cutting straight lines much easier.
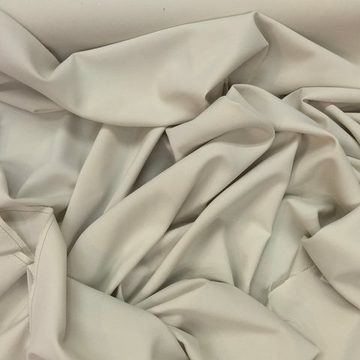
- Premium 100% Cotton Chambray, Grey, 140cm: now £6.99 a metre (was £12.99). A smart, understated choice for a modern kitchen or a gift for someone who prefers plain colours.
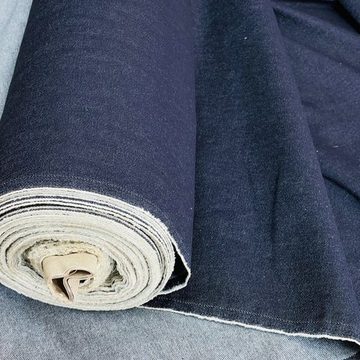
- 8oz Premium Cotton Denim: £9.99 a metre, in stock in Light Washed and Dark Indigo. Heavier and hard-wearing, it's great for a workshop, barbecue or gardening apron.
- Gingham 1/4" Checks Polycotton: £4.95 a metre, in stock in Red, Pale Blue, Brown, Lilac and Pink. Lovely for contrast pockets and ties, or a mini apron for little bakers.
What You'll Need
- 1 metre of fabric (140cm to 150cm wide). This is enough for an adult apron, the straps and a pocket.
- Matching thread, fabric scissors, pins or clips, a tape measure and tailor's chalk
- An iron and ironing board (pressing as you go makes a big difference)
- A sewing machine, or a needle and thread if you're happy hand sewing
Step 1: Cut Your Pieces
Pre-wash and press your fabric first, especially cotton, so the apron doesn't shrink out of shape later. Then cut:
- Main panel: a rectangle 70cm wide by 90cm long.
- Neck strap: one strip 8cm wide by 60cm long.
- Waist ties: two strips 8cm wide by 80cm long.
- Pocket: one rectangle 25cm wide by 20cm deep.
These measurements suit most adults. For a child's apron, roughly halve the panel and pocket sizes and shorten the straps to match.
Step 2: Shape the Bib
Fold the main panel in half lengthways. At the top, measure 14cm in from the fold and mark it, so the finished bib is 28cm wide. Then measure 25cm down the open side edge and mark again. Draw a gentle curve joining the two marks and cut through both layers. Unfold, and you'll have the classic apron shape with matching curves on each side.
Step 3: Make the Straps
For each strip, press it in half lengthways, open it out, then fold both long edges into the centre crease and press again. Fold in half once more so the raw edges are hidden, giving you a neat strap about 2cm wide. Tuck in one short end on each waist tie, then topstitch close to the open edge along the full length.
Step 4: Hem the Edges
Fold every edge of the main panel over by 1cm, press, then fold over another 1cm and press again. Stitch close to the inner fold. Take your time on the curves: pin little and often, and sew slowly. A double-folded hem hides the raw edges and helps the apron stand up to plenty of washes.
Step 5: Add the Pocket
Hem the top edge of the pocket with a double 1cm fold, then press the other three sides under by 1cm. Pin it to the front of the apron, roughly at hip height and centred. Stitch around the sides and bottom, reversing a few stitches at the top corners for strength. For a two-section pocket, sew a straight line down the middle, perfect for a phone on one side and a pen or spoon on the other.
Step 6: Attach the Straps
Pin each end of the neck strap to the back of the top corners of the bib, and the raw ends of the waist ties to the back of each side, just below the curves. Stitch each one in place with a small square or a few rows of stitching so they don't pull loose. Try the apron on before stitching the neck strap, so you can adjust the length to suit.
Finishing Touches
- Mix and match: pair plain chambray with gingham pockets and ties for a co-ordinated look.
- Personalise it: add a name with a fabric pen or simple embroidery for a thoughtful gift.
- Add a towel loop: a short strip stitched at the waist is handy for hanging a tea towel.
Start Your Apron This Weekend
With just a metre of fabric and an afternoon, you can make an apron that's practical, personal and far nicer than a shop-bought one. Make one for yourself, then a few more as Christmas gifts. Browse our gingham check cotton, grey chambray and cotton denim while these reduced prices last, and happy sewing!